Whenever I am making a mold I treat it like I was making a sculpture. It's important to me that the mold as a whole, and each individual part of it is a beautiful object. Hey, it might be in a museum one day, it's got to look good! Like a mug, they need to be designed to function well. That engineering of form and function is a fun challenge. I sign my own molds as works of art in themselves, but when I make molds for other people, I forgo that and just hope whomever is using the molds appreciates it as a beautifully crafted tool.
These photos document the process of making a mold for The Odyssey mural. These molds were made in 2011 and were my first big wave of molds--about 60 were made for the project. I happen to have these nice photos thanks to Frank Bott. These are representative of the molds I make now, however I feel compelled to say that I've had a lot of practice since then and I make 'em even nicer now. I've also had a lot hair cuts since then too.
These photos document the process of making a mold for The Odyssey mural. These molds were made in 2011 and were my first big wave of molds--about 60 were made for the project. I happen to have these nice photos thanks to Frank Bott. These are representative of the molds I make now, however I feel compelled to say that I've had a lot of practice since then and I make 'em even nicer now. I've also had a lot hair cuts since then too.
What you are looking at here is one of very many tiles that make up a larger repeating pattern. The coddle boards are shown with the addition of some clay to make a curved wall that has an even thickness. Very rarely do I make a square mold anymore, unless it's very small. Molds get heavy and keeping the plaster about 1 1/2 inches thick everywhere keeps them light. It also makes for a more sculptural mold with lots of sexy curves.
Pouring the plaster. I always weight out plaster and water for consistent density. This doesn't matter so much with my own work (one-piece press-molds), but it's a good habit to stay in when making multiple part molds for other artists that will be slip-casting.
Frosting the plaster: the technique of applying it by hand or with a tool like frosting a cake. This mold is a good example of using both methods of pouring and frosting. I often incorporate both, especially with larger molds to keep the wall thickness even and light weight.
Smoothing out the bottom. Once the plaster is frosted, I will quickly smooth out the lumpy surface before it hardens.
Very soon, the plaster is set up and a surform is required to continue smoothing. Not pictured in this process is an additional level of finishing with a metal rib to remove surform marks. I try to make the molds as nice as possible.
Removing the prototype. I model originals in clay and they are usually destroyed at this stage in the process. No big deal -- I can crank out copies now quickly. I also make molds of hard objects (ceramic, metal, etc. ) and can usually save the original if necessary.
Finishing the outside of the mold.
Cleaning up the inside of the mold.
Final step: cleaning up plaster and clay residue. Done. Molds are left to dry out for about a week and then are ready to use.
So that was the process of making one of the molds for The Odyssey. Above is a pic of the other molds made for that project.
BONUS!
I thought I'd go ahead and give you a peak at how the molds went on to be used:
Here are the molds laid out. I wouldn't make so many for one project again. Live and learn.
The tiles were press-molded, usually all the way up to the top of the mold, but in this picture shows some tiles being made with a slanted back.
The three courses of tile on the left came out of molds like the photo above. The deeper tiles on the right were similarly made but used the entire depth of the mold.
Table o' unfired tiles.
Floor o' fired tiles.
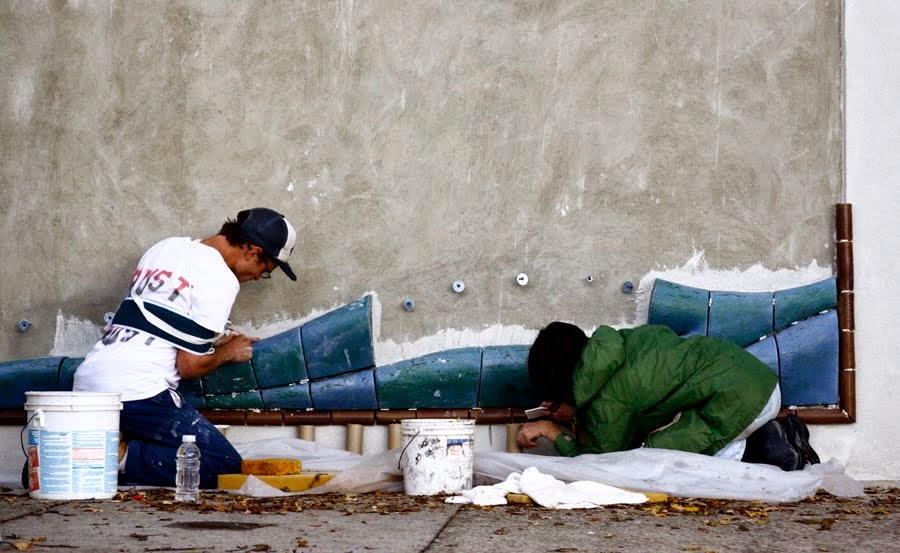
Tile installation with Kathy (and broken collarbone).
The Odyssey
2011
Alex Irvine and Kathy Triplett


